
Are you wondering how some Instagram posts have those seamless transitioning posts? Or do you have an awesome landscape photo that you have to decide if you want to crop down or post it as it is, under using Instagram’s posting space?
No worries! I got you covered with this easy to do tutorial!
You are going to need both Adobe’s Photoshop and Lightroom Classic to follow along as well as a wide angle photo or landscape photo.
Step 1:
Once you have picked out the photo you want to use and have edited it the way you want, you need to go to the crop tool and set the aspect ratio to 16:10. After that, click Done.

Step 2:
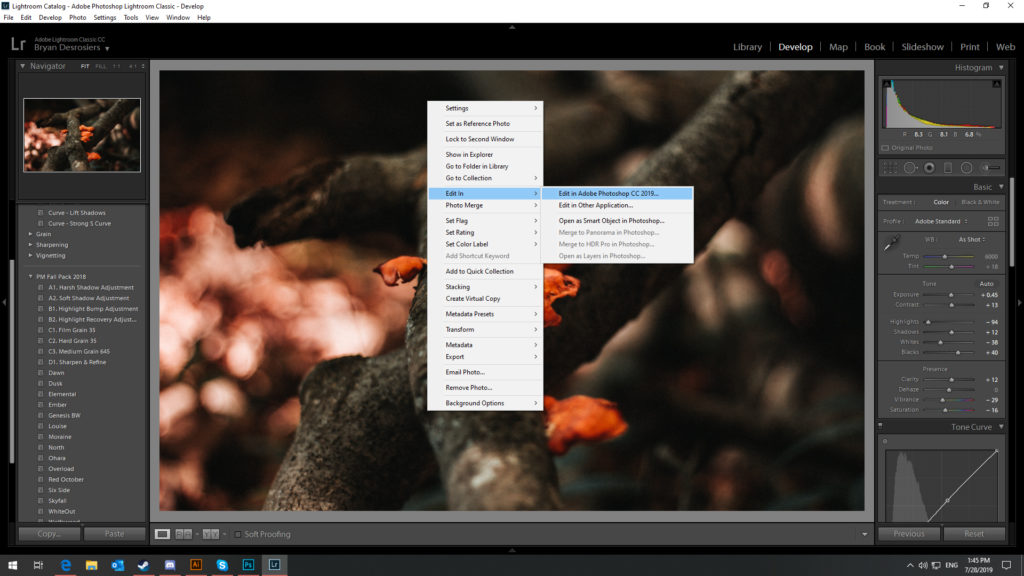
After you’ve finished setting the aspect ratio to 16:10, we will need to splice the image into 2 halves. To do this we first need to open the image in Photoshop. Right click on the image and click “Edit in” and then “Edit in Photoshop”.
Step 3:
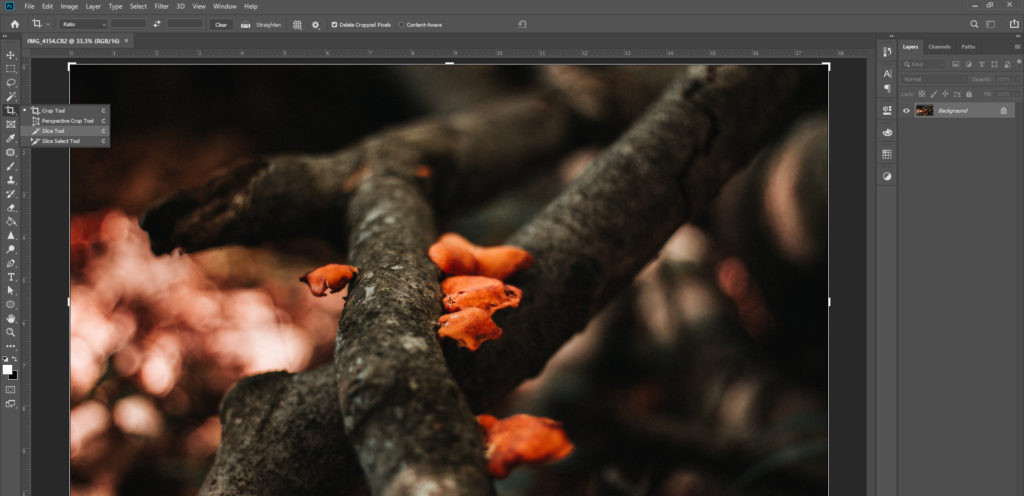
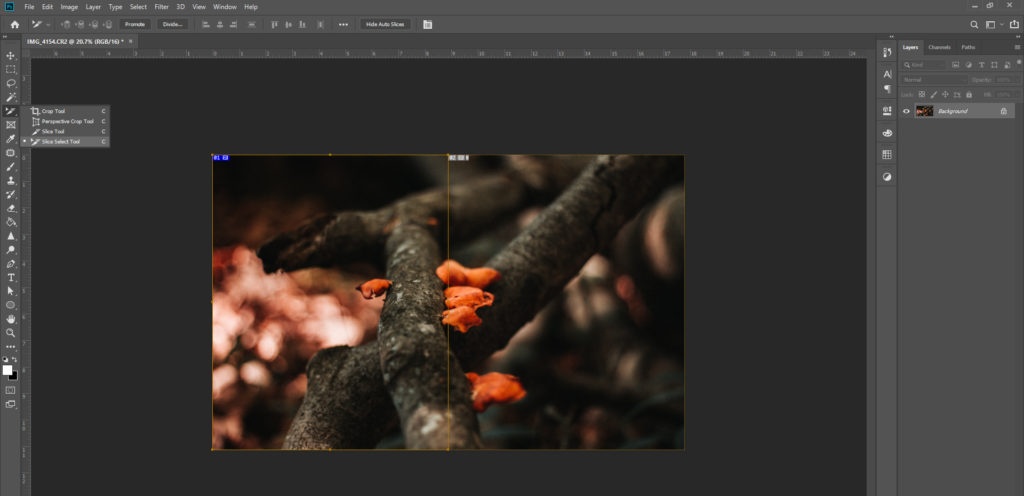
Once you have got Photoshop opened with your image inside of it, navigate yourself to the Crop tool and right-click it. Then select the Slice Tool.
Step 3-a:
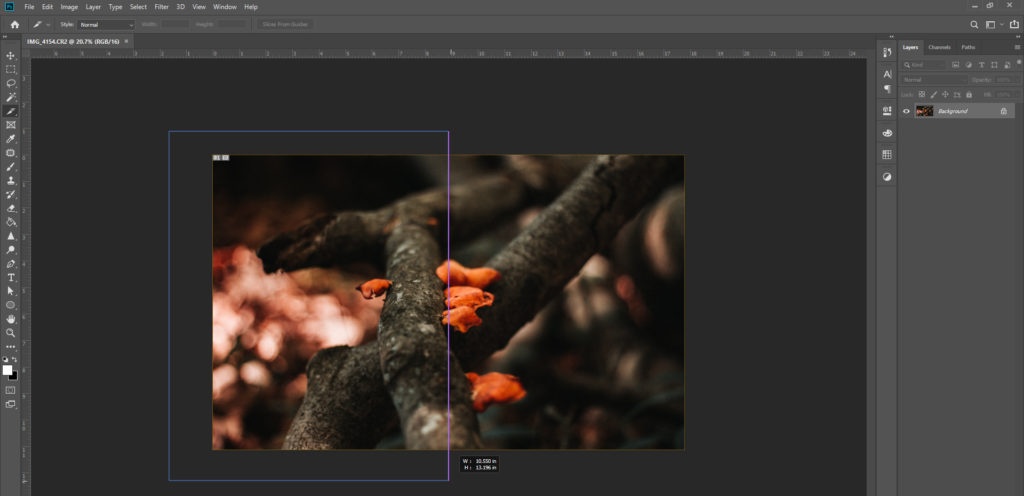
After selecting the Splice Tool, you’ll want to Zoom out a bit, you can quickly do this by hold ALT + using your mouse’s scroll wheel. You’ll then using the Slice Tool to click and drag over HALF of your image. When you let go of the mouse, the image will be sliced in half.
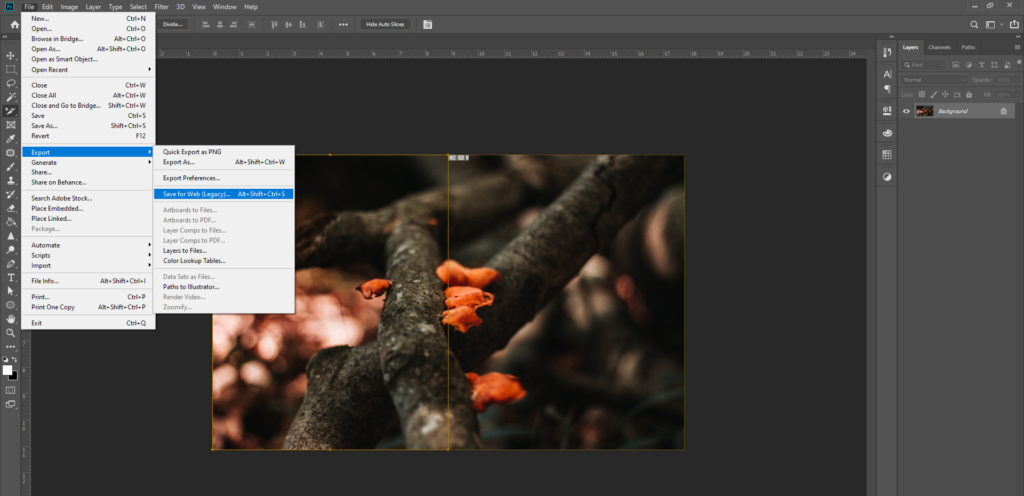
Step 3-b:
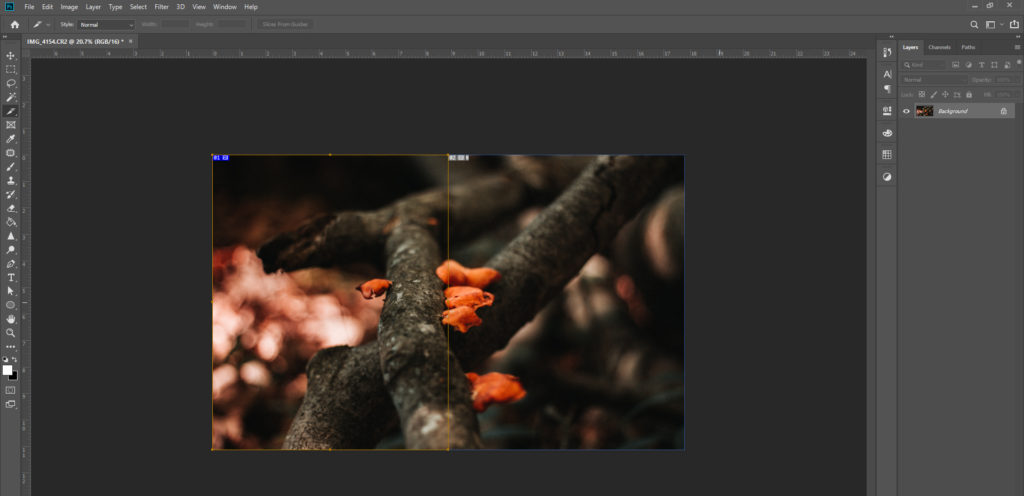
Now that you have gotten your image sliced into two halfs, highlight both slices just by holding SHIFT + Left Clicking on the sliced sections. After selecting the two halves, you will want to go to FILE, EXPORT, SAVE FOR WEB (LEGACY).
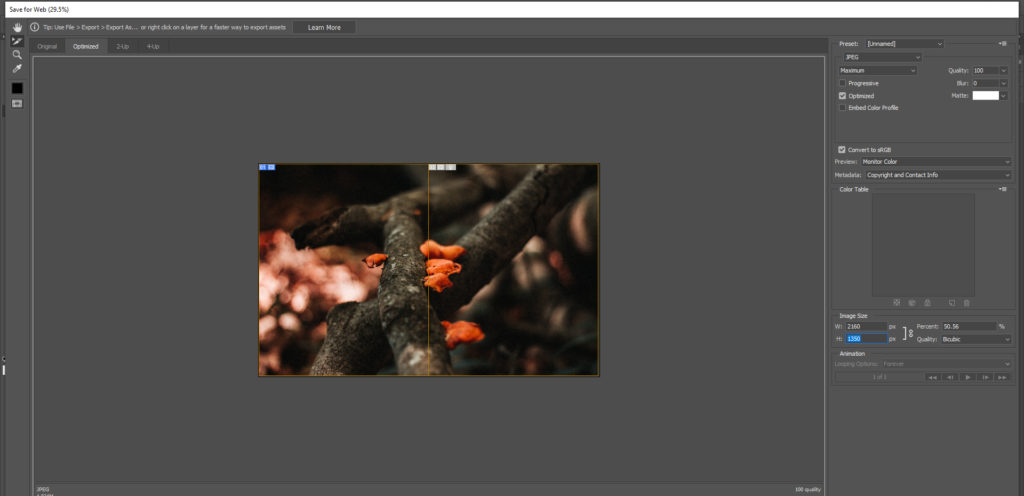
Step 4:
Once you are in the Save for Web panel, select both halves of the photo again and on the right hand settings panel make sure to change the file type to JPEG and the quality to 100%. Also change the Image Size’s height to 1350, this is the maximum height for Instagram posts. The width will automatically adjust.
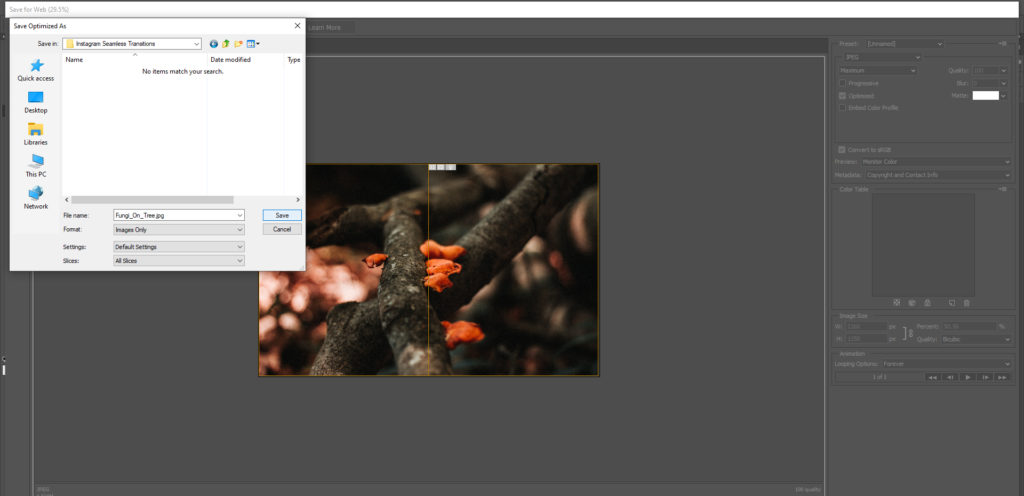
Step 5:
After you’ve got those settings all inputted, click the Save button and make sure to name the photo how you want, and the Save Window is saving ALL SLICES. This tab as at the very bottom of the Save Window.
Step 6:
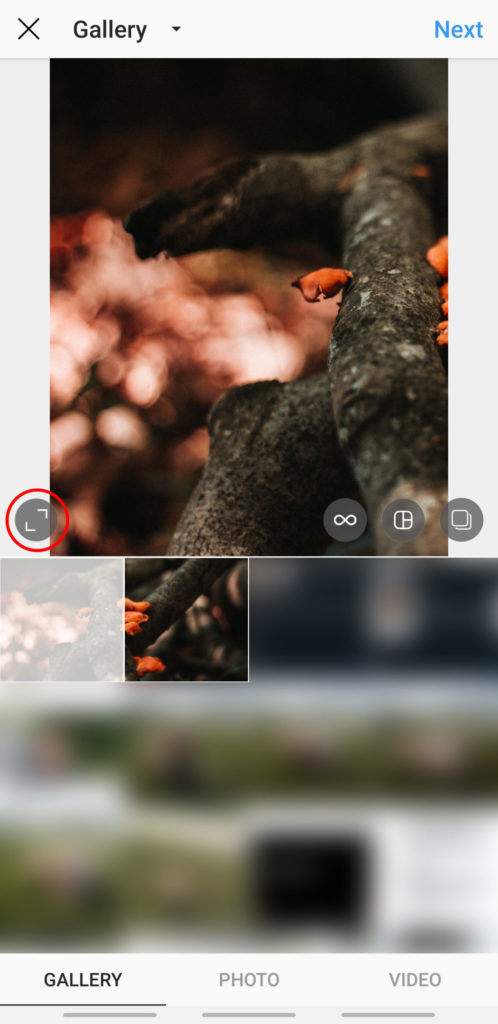
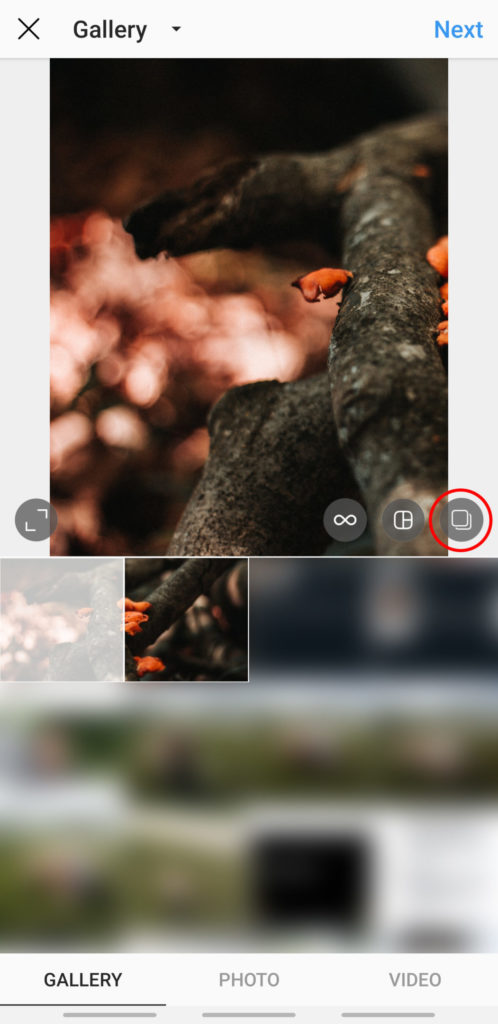
Now all you have to do is place the two image files on your phone via your favorite transfer method then open Instagram. Once you have Instagram open, go make a new post and select the first image file, and then click the resize circular button to give full view of that image. After you do that, click the circular button that looks like images stacked on each other, and then select the second image. It is important that you do this in order otherwise the posts will just be Square images, and that is not what we want.

Step 7:
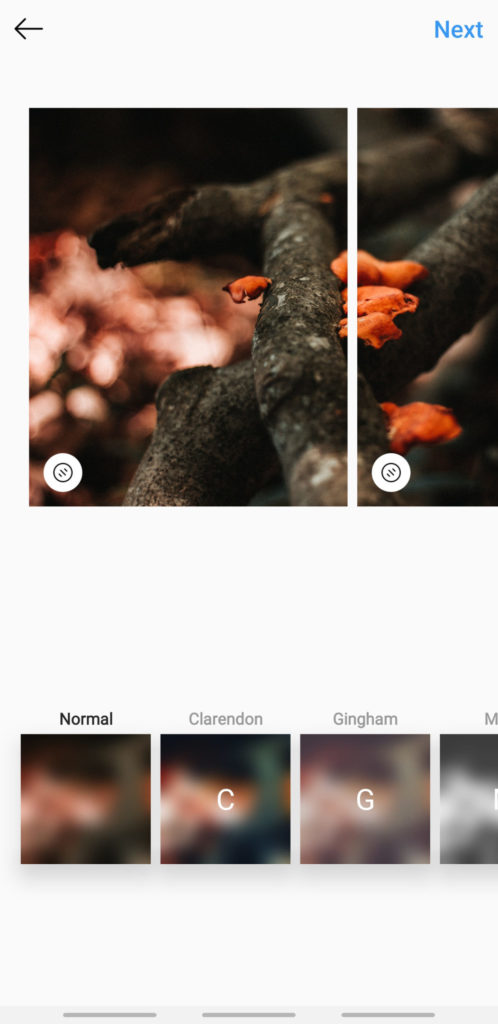
Here we get a quick little preview on how the two images will look when posted. You will notice the thin white bar down the middle of the two, don’t worry about this! This is just to show you easily the two different images before posting. Once you make the post, you will not see this bar.
Step 8:
Make your caption, your hashtags, and send the post off! You’ve done it!